Roblox is a platform that not only allows you to play games but also provides you with the tools and resources to create your own games. Whether you’re a seasoned developer or a beginner, this step-by-step guide will walk you through the process of creating your own Roblox game. From concept development to scripting and publishing, we’ll cover the essential steps to help you bring your game ideas to life on the Roblox platform.
Planning and Concept Development
Before diving into the creation process, it’s important to have a clear plan and concept for your Roblox game. Here are some steps to consider during the planning phase:
- Idea Generation: Brainstorm game ideas and mechanics that you find interesting and engaging. Consider the genre, objectives, and gameplay elements you want to incorporate into your game. Research existing Roblox games to gather inspiration and identify gaps in the market that your game can fill.
- Define Objectives: Clearly define the objectives and goals of your game. Determine what players will be trying to achieve and what challenges they will face. Establishing clear objectives will help you stay focused during the development process and create a more coherent and engaging gameplay experience.
- Design Documentation: Create design documentation that outlines the key features, mechanics, and visuals of your game. This document can serve as a reference throughout the development process and help communicate your vision to team members or collaborators if you’re working in a team.
- Storyboarding: If your game has a narrative or sequential gameplay elements, consider creating storyboards to visualize the progression of the game. Storyboards can help you plan the flow of the game, design levels, and anticipate potential issues or bottlenecks.
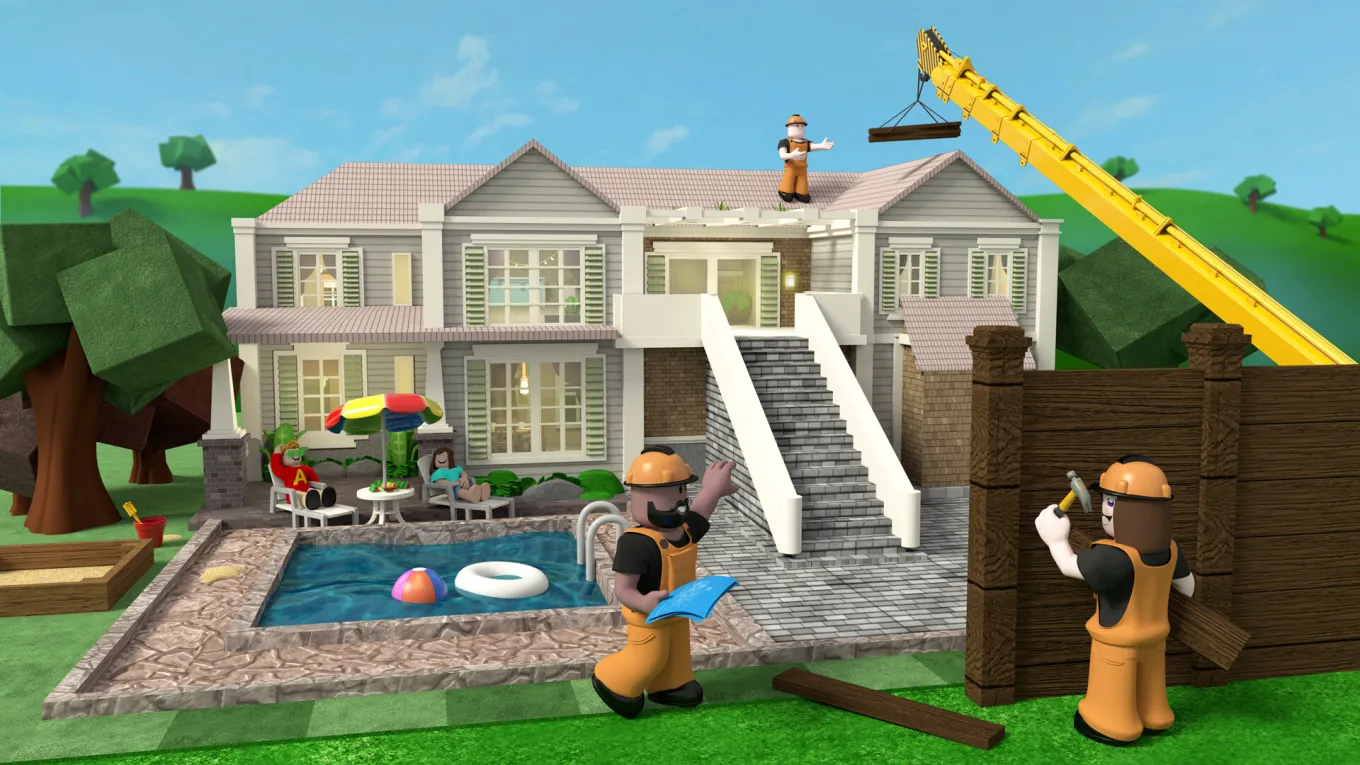
Building the Game World
Once you have a solid plan in place, it’s time to start building the game world. Here are the key steps involved in creating the game environment:
- Terrain Creation: Start by creating the terrain for your game. Roblox provides a variety of tools for terrain editing, allowing you to sculpt and shape the landscape to fit your vision. Experiment with different terrain features such as hills, valleys, rivers, and mountains to create a unique and immersive game world.
- Structures and Objects: Add structures, objects, and props to populate your game world. Use the Roblox Studio’s building tools to create buildings, scenery, and interactive objects. Consider the visual style and theme of your game when designing structures, and ensure they are both aesthetically pleasing and functional within the gameplay.
- Lighting and Atmosphere: Enhance the ambiance of your game by adding suitable lighting and atmosphere. Experiment with different lighting settings to create the desired mood and atmosphere for your game. Use fog, particle effects, and sound effects to add depth and immersion to the game environment.
- Level Design: If your game has multiple levels or areas, carefully design and create each level to ensure a balanced and engaging gameplay experience. Consider the progression of difficulty, the placement of obstacles or challenges, and the overall flow of the game. Test and iterate on your level design to create a satisfying gameplay loop.
- User Interface (UI): Design an intuitive and user-friendly interface for your game. Create UI elements such as menus, buttons, and icons that are visually appealing and easy to navigate. Ensure that the UI elements are consistent with the overall theme and style of the game.
Scripting and Gameplay Mechanics
Scripting is a fundamental aspect of creating interactive gameplay experiences on Roblox. Here are the steps to implement gameplay mechanics and scripting in your game:
- Learn Lua: Lua is the programming language used in Roblox Studio. Familiarize yourself with the basics of Lua scripting to understand how to create interactive elements and control gameplay mechanics. Roblox provides extensive documentation and tutorials to help you get started with Lua scripting.
- Player Controls: Implement player controls to allow players to interact with the game world. Create scripts that handle movement, jumping, and other essential player actions. Consider adding customizable controls or input options to cater to player preferences.
- Game Mechanics: Implement the core gameplay mechanics based on your game design. This could involve scripting combat systems, puzzle mechanics, platforming elements, or any other unique features that make your game engaging and enjoyable. Test your mechanics thoroughly to ensure they function as intended and provide a satisfying gameplay experience.
- Non-Player Characters (NPCs): If your game includes NPCs, design and script their behavior and interactions. NPCs can serve various roles, such as enemies, allies, or quest givers. Create AI scripts that dictate their movement, actions, and responses to player interactions.
- Game Progression and Persistence: Implement game progression and persistence systems to allow players to save their progress and continue where they left off. This may involve creating save points, checkpoints, or a system for tracking player achievements and unlockingrewards. Ensure that the progression system aligns with the objectives and mechanics of your game.

Testing, Iteration, and Polish
Once you have implemented the core gameplay elements, it’s crucial to thoroughly test your game, iterate on its design, and add the final polish. Here are the steps to consider during this phase:
- Testing and Bug Fixing: Test your game extensively to identify and fix any bugs, glitches, or issues. Involve friends or fellow developers to playtest your game and provide feedback. Address any gameplay imbalances, technical problems, or user experience issues that arise during testing.
- Iteration and Feedback: Take the feedback from playtesters and iterate on your game design. Consider their suggestions for improvements, balance changes, or new features. Continuously iterate and refine your game based on feedback to create the best possible player experience.
- Optimization: Optimize your game to ensure smooth performance and reduce lag. Use efficient scripting techniques, optimize asset sizes, and consider performance implications when designing complex game elements. Pay attention to detail and strive for a seamless and enjoyable gameplay experience.
- Visual Enhancements: Add visual enhancements to make your game visually appealing. This could include adding particle effects, animations, or high-quality textures. Invest time in creating a cohesive visual style that aligns with your game’s theme and engages players.
- Audio Design: Enhance your game with suitable audio elements. Add background music, sound effects, and voiceovers where appropriate. Audio can greatly contribute to the atmosphere and immersion of your game.
- User Feedback and Testing: Once you are satisfied with the state of your game, release it to the public or invite a larger group of players to test it. Gather user feedback and continue to make adjustments and improvements based on the feedback received.
Publishing and Community Engagement
After thoroughly testing and polishing your game, it’s time to publish it and engage with the Roblox community. Here are the final steps:
- Publishing: Publish your game on the Roblox platform by following the guidelines provided by Roblox. Ensure that your game meets the platform’s requirements and standards. Provide a compelling and accurate game description, appealing visuals, and appropriate tags to attract players.
- Promotion and Marketing: Promote your game through various channels to reach a wider audience. Use social media platforms, Roblox forums, and developer communities to showcase your game. Collaborate with influencers or content creators to increase visibility and generate interest in your game.
- Community Engagement: Engage with the Roblox community by responding to player feedback, addressing concerns, and providing updates. Create a community Discord server or forum to foster a dedicated player base and encourage discussions and interactions among players.
- Regular Updates: Continue to update and improve your game based on player feedback and the evolving Roblox platform. Add new features, fix bugs, and introduce fresh content to keep players engaged and coming back for more.
Conclusion
Creating your own Roblox game can be an exciting and rewarding experience. By following these step-by-step guidelines, you can bring your game ideas to life, from planning and concept development to scripting, testing, and publishing. Remember to iterate, gather feedback, and continuously improve your game to provide an enjoyable experience for players. Engaging with the Roblox community and promoting your game will help you build a dedicated player base and foster a thriving gaming community. So, grab your imagination, dive into the world of Roblox game development, and unleash your creativity. Good luck!